
Slip dress


A slip dress is such a staple and simple silhouette, it’s a perfect easy DIY to get you ready for spring and summer. I found this lightweight floral fabric for $4/m so this slip dress was an absolute steal to make. Because the fabric is so thin, I love to wear this slip dress as a top tucked into jeans or shorts. We all love a good multipurpose piece in the wardrobe!
TIME | 2 hours
COST | $
DIFFICULTY | Easy
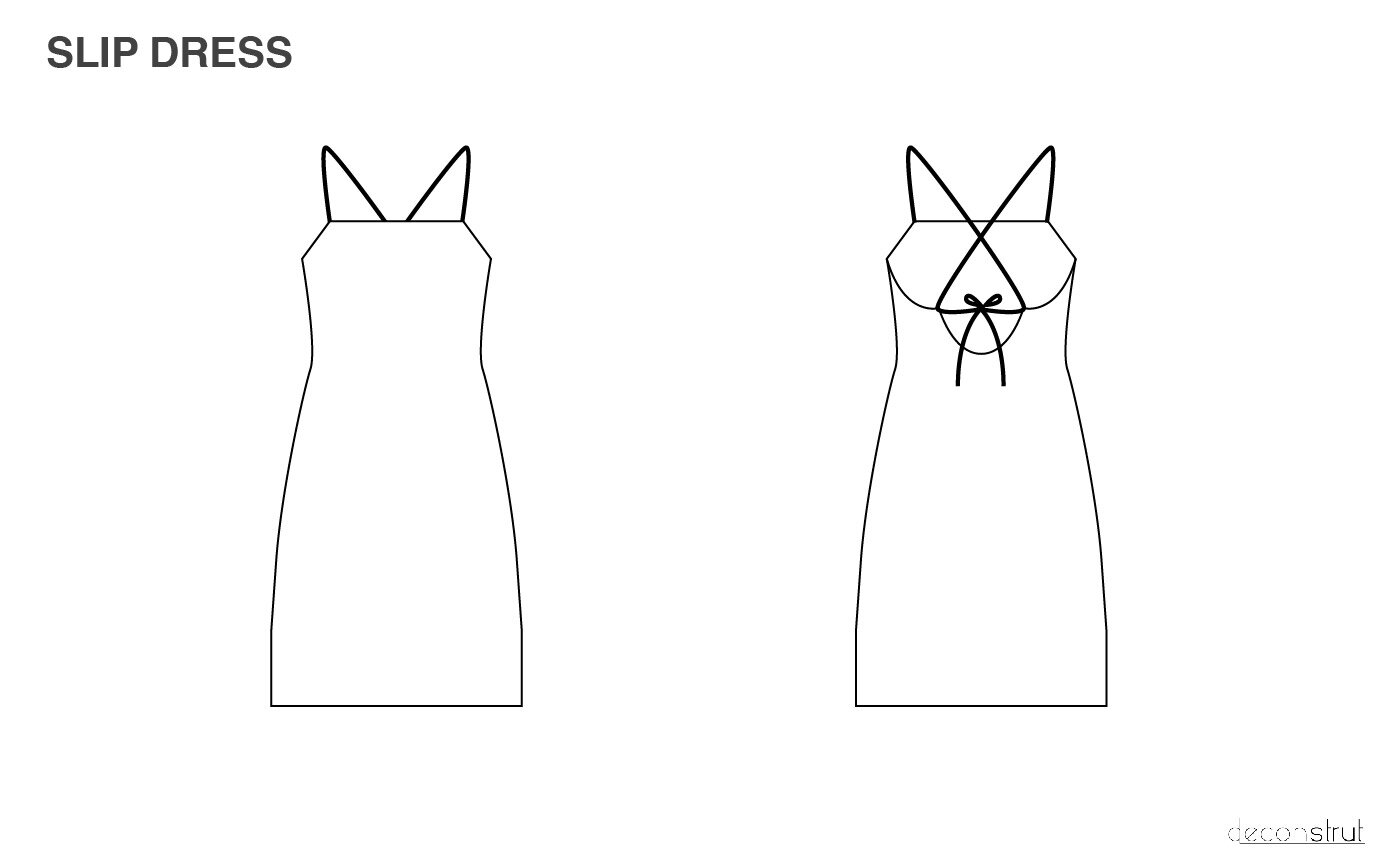
General Pattern
Whatever it is, the way you tell your story online can make all the difference.
I don’t have a fully drafted pattern to share but here are the general shapes of the pieces I used. I’ve highlighted some key measurements:
A: measurement of your neckline for where you want to place your straps. If you extend this you can create a cowl-like shape. I used 9.5” for a straight neckline.
B: Should be your bust measurement plus 1” of ease, divided by 2. Ex: My bust measurement is 32, the measurement of B for me was 16.5”. You can increase the ease as needed.
Bottom hem: I chose to do an A-Line shape for my slip dress so I added an extra 3-4” to my B measurement for the flare.
C: Length of your dress; I used a measurement of 29”.
Note: the pattern should be cut on the bias of your fabric.
Steps
Cut pattern pieces on the bias of your fabric.
Start with creating your straps. I decided to make mine super thin rolled straps but flat ones or wider ones will also work!
Trim 2” pieces off of the straps to create loops for the back of the dress.
Sew the loops into the back of the dress with the lining at the same time with good sides facing.
Press the seam allowance to the side of the lining and understitch.
Press your front fold line crisp.
Attach the straps to the front of the top by placing them at the fold line corners and stitching the armhole and sides with the good sides facing in.
Repeat the understitch step to the arm holes sections of the front.
Sew up the side seams.
Hang the dress overnight as bias-cut dresses may stretch out before hemming. Trim if necessary.
Baby hem or roll hem the bottom of the dress to finish!